First, Ruth took us through the technical bit about which fibres would react with the procion dyes which she had bought for us to use, how the weave of the fabric could affect the way in which the colour was taken up and may (or may not) spread. She talked about the relationships of colour, how a golden yellow will look different when next to a scarlet or emerald green, and how the colours change again when mixed. We weren’t expected to faithfully remember all this but it does help to have an introduction and if you wanted to know more, Ruth had bought copies of her books with her. If you just wanted a reminder of what can be achieved then her postcards were there too.
Looking at the wonderful range of coloured fabrics she had bought for us to see and handle helped you decide which colours you wanted to try out, but the fun of these workshops is to also try something which you probably wouldn’t do at home. Ruth kept us supplied throughout with ready-mixed colours and was happy to mix more when they ran out. She charged only a nominal amount for supplying everything (including brushes and pipettes) and it’s a much more economical way of experimenting than buying everything yourself.
Starting with a restricted range of colours, we chose 3 and painted first onto papers – taking one colour and adding just a hint of another to watch the gradual and subtle movement down the page – and, yes, there is a difference if you add the yellow to the green or add the green to the yellow. Then we did the same sort of exercise on fabrics some first prepared with the chemical solution (forget your chemistry lab and pungent odours, this is a very gentle solution which just helps to “loosen up” the fabrics) and we saw the difference when exactly the same colours were painted onto dry fabrics. Those with the chemical solution allowed the colours to blend much more, and what you first painted was not always what you ended up with as, if you allowed time for the paints to move around in their own way, they created soft fuzzy edges and halos of colour. We quickly found out who were the “bully boys” - the colours that make themselves known and shout louder than the others (magenta was a definite contender for this title).

Those who wanted to create an exercise book of colours, tones and mixes to refer back to went happily down that path, whilst others of us just played with the colours, putting this one next to that one. Using the same colours on different fabrics and threads gave us more ideas as they each delivered a different end result. We also tried toning down the colours to softer shades although they never quite ended up as pastels.
In between using the colours, Ruth would show us other ways of adding it to the fabric. If you had persuaded your cat to let go of his litter tray, then use it for space dying (a technique where you drop the paint onto the scrumpled up fabrics then dribble the solution on top so they run and blend together). Fold and tie your fabrics into tight little bundles and dip the edges into paint and watch it soak up, then when dry and unfolded you had a kaleidoscope of both pattern and colour (there were lots of oohhs and aaahs as we did this after lunch on Sunday).
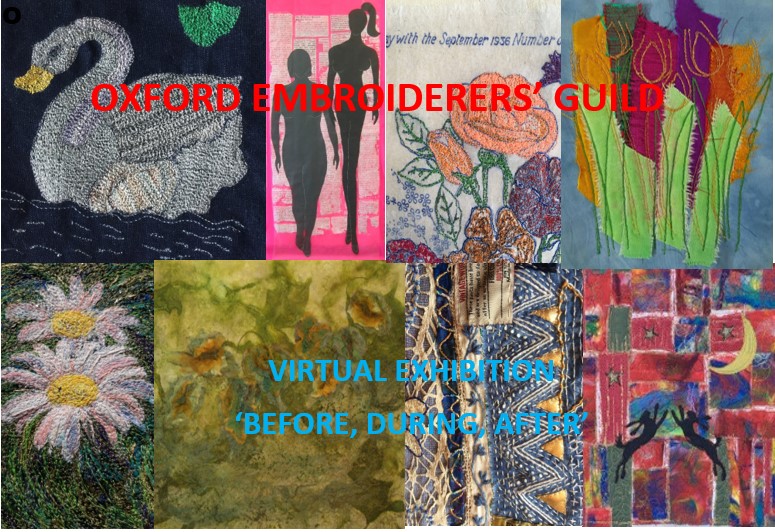
Between us all we had a great range of fabrics – cottons, velvets, linens, organdies, muslins, silks – and likewise with threads. At the end of the weekend we had an even greater range of coloured fabrics and Ruth showed us some ways of then using them – starting with small blocks of colour and adding other next to it so the piece grows almost organically (and because you’ve dyed them with similar colours at the same time they blend very well together); or sewing them in patches one on top of another and using the dyed threads to add rows of running stitch; sewing them in tiny strips with frayed edges to see the graduation of colour; laying one on another and cutting back so the colour underneath is exposed.

With tea and coffee provided (help yourself style, with biscuits too) and a bring and share lunch this was a very relaxing but stimulating weekend. I’m not the only one looking forward to having Ruth back for more.
No comments:
Post a Comment